

How to Hide Wood Grain When Painting Kitchen Cabinets
Remember the ‘90s? Back then, solid wood kitchen cabinets, like oak, were all the rage because they were extremely durable and had a distinct charm. However, fast forward to today, and those same cabinets might still be in great condition, but they could use a bit of a modern facelift.
If you’re looking to transform your kitchen by painting your wood cabinets, you might want to hide that wood grain for a more contemporary, smooth, and opaque finish. The good news is that achieving this is entirely possible with the right products and process.
In this blog post, we’ll guide you through our pro tips to successfully hide wood grain when painting your wood kitchen cabinets.
Knowing the Difference Between Open and Closed Grain Wood
When it comes to painting your wood kitchen cabinets, it’s important to understand the difference between “open grain wood” and “closed grain wood.” The texture of the wood and the depth of its pores play a significant role in how challenging it can be to hide grain effectively.
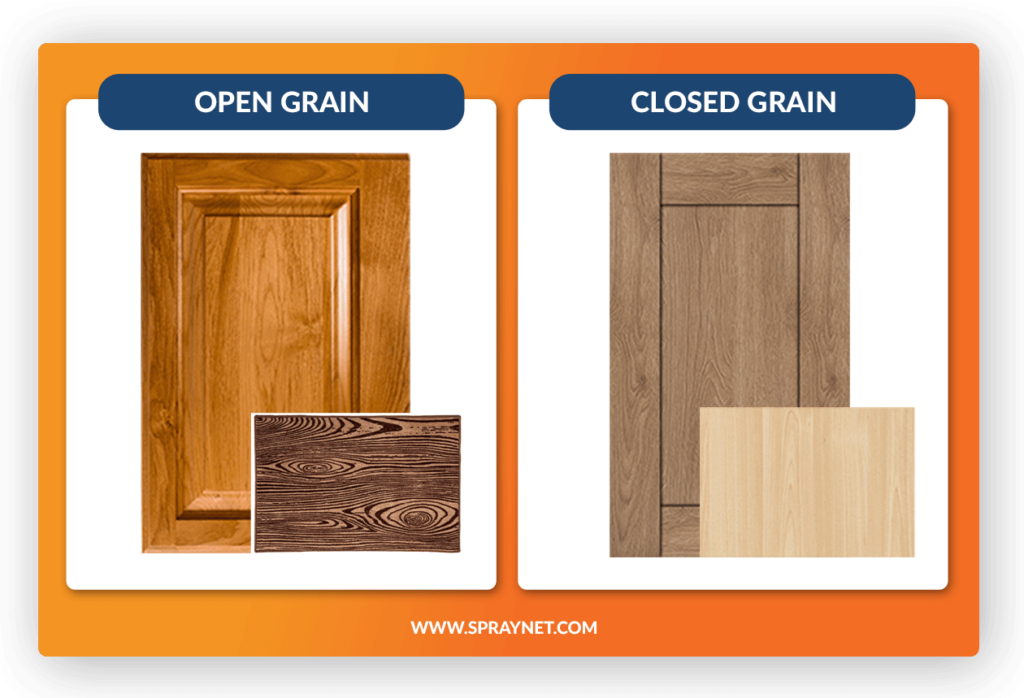
Open Grain Wood
Large pores and deep-set patterns are characteristic of open grain wood. These pores and patterns are like a tree’s version of highways, moving water and nutrients around. Wood species like oak, ash, mahogany, and walnut are examples of woods with open grain.
So, what does open grain wood look like? It has texture for days, with visible dark lines and patterns thanks to those deep pores. This unique texture can add a touch of character and a natural aesthetic to the wood, but it can also pose a challenge when trying to hide the grain. These pores can create areas where paint gathers, making it harder to achieve a smooth and uniform finish. That’s why, to successfully hide the grain, you need to give this kind of wood extra attention during the preparation phase.
Closed Grain Wood
Unlike its open grain sibling, closed grain wood comes with subtler and less noticeable pores on its surface. While these pores are still around, they are smaller and show less compared to the pores on open grain wood. Woods like maple, cherry, and birch usually fall under the closed grain category. Compared to open grain wood, closed grain wood is smoother and more even.
Thanks to its naturally smoother surface and smaller pores, hiding the grain is a lot easier; but don’t get us wrong: prepping the surface properly is still key—it just might not require as much elbow grease.
What is a Grain Filler and How Do You Use It?
You can’t talk about hiding wood grain on kitchen cabinets without talking grain filler. Wood surfaces have natural pores and imperfections, which can make the final painted finish look less than smooth. That’s where grain filler steps in.
A grain filler works, like its name suggests, by filling up these pores and creating an even surface that lends itself to proper priming and painting to achieve a smooth finish. There are two types of grain fillers you can choose from: single-component fillers and two-component fillers.
Single and Two-Component Wood Grain Fillers
A two-component wood grain filler involves mixing, you’ve got it, two components together: a base material, which provides texture and consistency to the filler; and a hardener. When mixed with the base, the hardener kicks off a chemical reaction that essentially allows the filler to cure and harden. The result is an extremely durable finish with strong adhesion and no shrinkage. We recommend using this type of wood grain filler when filling up deep holes (the kind where old handles used to be).
On the flip side, a single-component wood grain filler is ready-to-go out of the gate. There’s no mixing required: you just apply it straight onto the wood. Not all single-component wood grain fillers contain the same volume solids, however. Those with a higher volume of solids can hide grain in 1 coat, while other fillers require 3-4 coats (especially when working with open grain). Shrinkage can occur with these types of grain fillers during the drying process, so it’s important to pair your wood filling efforts with a high-build primer that can effectively fill in any remaining grain and gaps.
The Role of a High-Build Wood Primer
Next up, let’s talk proper priming to hide wood grain on kitchen cabinets.
A high-build primer is a primer that is formulated with a higher level of solids that “build up” into a thick layer that helps hide imperfections, like grain, on a surface. Think of it as a liquified grain filler whose job is to catch anything the grain filler missed. It is much thicker than a regular primer and is therefore a necessity when the goal is to hide prominent patterns and textures.
How to hide wood grain on kitchen cabinets step-by-step
If you’re aiming to paint your wood cabinets to achieve a flawless, modern finish with zero grain, a combination of a good quality high-volume solids grain filler and a high-build primer is the way to go. These products work in harmony to hide wood grain as much as possible and at the same time, block tannin bleed.
- Clean and Sand the Wood: using a degreaser, start by cleansing the cabinets to remove dirt, grease, and other contaminants from the surface. This is done before sanding, as you don’t want to push those contaminants further into the pores of the wood. Then, thoroughly sand the surface. Keep in mind open wood grain will require more rigorous sanding.

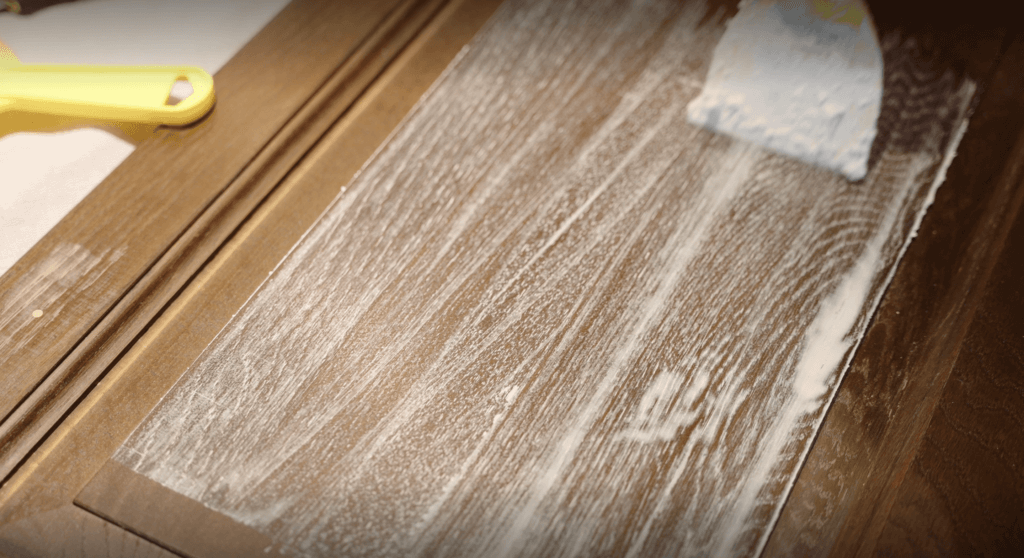
- Apply Wood Grain Filler: Following the instructions on the manufacturer’s label, use a two-component grain filler to fill and hide any old handle holes. Next, apply a high-volume solids, single-component filler using a putty knife or a plastic scraper and spread the filler onto the cabinet surface, ensuring to fill up all pores and grain lines in the wood.
- Remove Excess Filler: after you’ve applied the filler, take your putty knife or scraper, and scrape off any extra. You’re aiming for a thin and even layer, free of any lumps or bumps to avoid unnecessary and excessive sanding.
- Dry: check the manufacturer’s instructions on how long you’ll need to wait to let the grain filler properly cure and harden. Keep in mind that more pronounced, open grain wood may require more than one coat of grain filler.
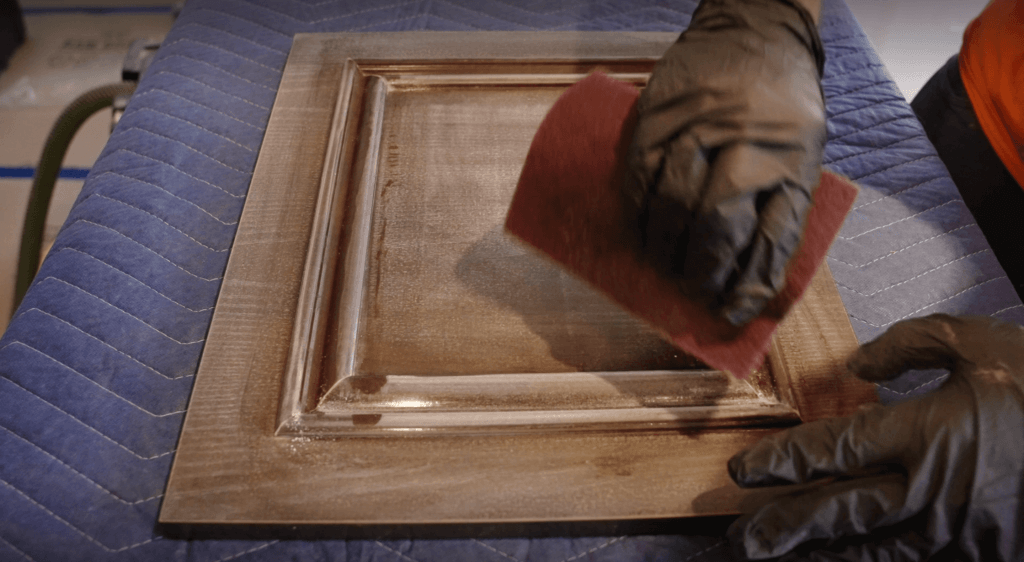
- Sand: Once the wood filler has dried, use a fine-grit sandpaper to sand the newly filled surface to ensure a smooth canvas for painting.
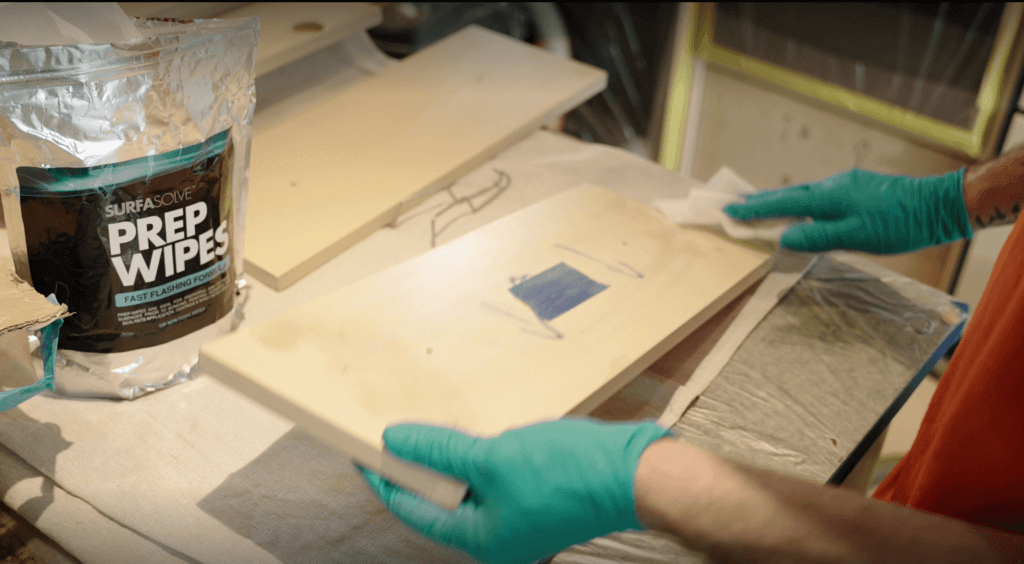
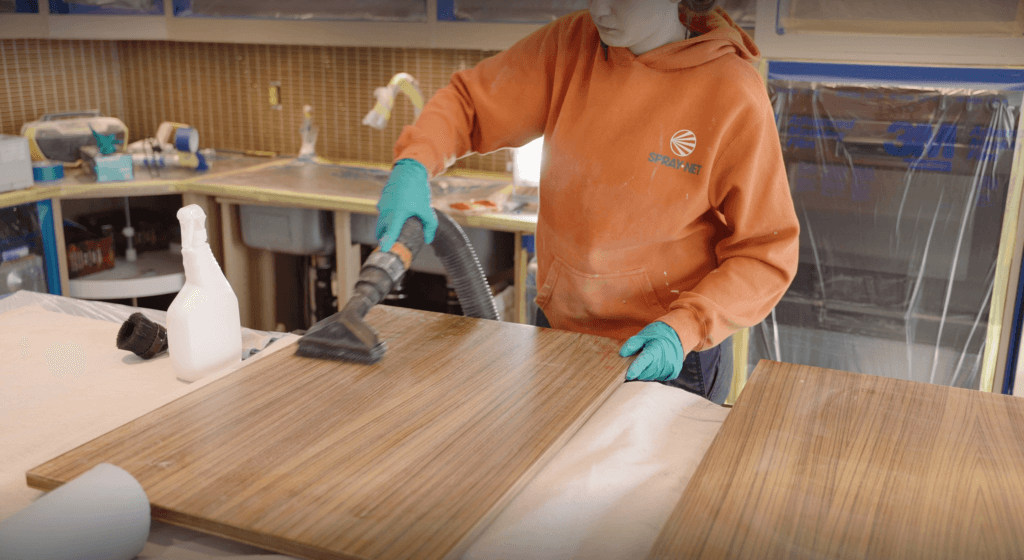
- Clean the Surface: after sanding, vacuum up all dust and give the cabinets a final cleanse using acetone cleansing wipes to ensure the surface is free of any contaminants.
- Prime: depending on the severity of the grain, you may need to apply more than one coat of your high-build primer. If so, check the manufacturer’s label for recoat and dry time.
- Apply Topcoat: once your primer is completely dry, apply your topcoat. Depending on the type of paint you’re using and the color, more than one coat may be required. Check the label for recoat and dry time.
Hiding Wood Grain- The Spray-Net Way
At Spray-Net, we like to take it a step further.
Not only do we use a powerful high-volume solids wood grain filler for all our wood projects, but we also formulated a proprietary high-build primer that effortlessly fills pores, deep-set grain patterns, and even micro cracks in wood cabinets. Some conventional primers result in a more porous, textured finish, which makes it impossible to achieve a smooth, factory-quality finish. Our primer dries to an ultra-smooth finish to promote maximum performance of our kitchen cabinet paint/topcoat, leaving gloss and final film properties unscathed.
![]()
Take a look at our transformations of wood kitchen cabinets to see how we’ve helped homeowners with 90’s oak wood cabinets get the kitchen of their Pinterest dreams!
Subscribe to our blog & newsletter.
This is the advantage of subscribing to our blog.